Before evolving a model with GeneXproTools 4.0 you must first load the input data for the learning algorithm.
To Load Input Data for Modeling
- Click the File Menu and then choose New.
The New Run Wizard appears. You must give a name to your new run file (the default filename extension of
GeneXproTools 4.0 run files is .gep) and then choose the problem
category and the kind of source file. GeneXproTools 4.0 allows you to work either with Excel/databases or text
files.
- Then go to the Training Data window by clicking the Next button.
Choose the path for the training set by browsing the Open dialog
box and choose the appropriate data matrix format. GeneXproTools
accepts two different data formats: the standard Samples x
Variables format where samples are in rows and variables in
columns, with the dependent variable or class occupying the
rightmost position; and Gene Expression Matrixes commonly used
in DNA microarrays studies where samples are in columns and
variables in rows, with the dependent variable or class
occupying the topmost position. You can visualize the loaded
samples in the Run Wizard window. Note that GeneXproTools uses
the Samples x
Variables format and therefore all formats are automatically
converted and shown in this format.
- Then go to the Testing Data window by clicking the Next button.
Repeat the same steps of the previous point if you wish to use a
testing set to evaluate the generalizing abilities of your model.
- Click the Finish button to save your new run file.
The Save As dialog box appears and after choosing the directory where you want your new run file to be saved, the
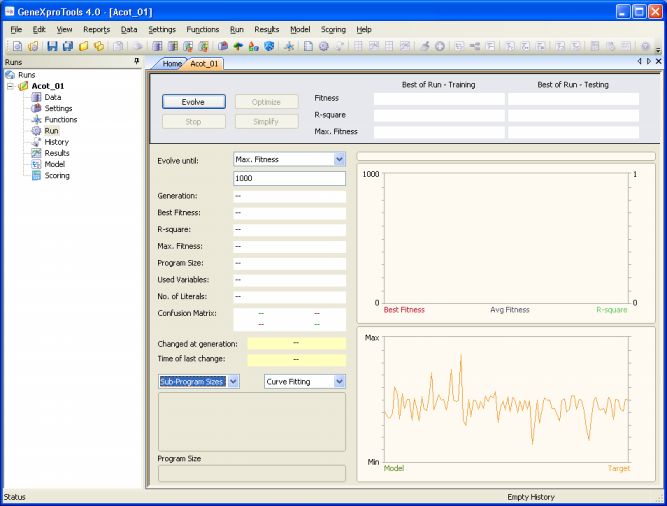
GeneXproTools 4.0 modeling environment appears.
Then you just have to click the Evolve button to create a model as
GeneXproTools 4.0 can automatically choose from a gallery of
templates default settings that will enable you to evolve a model immediately.

|
|